This cake recipe is an absolute joy to make, for a few reasons:
- You get to make a light yeasted cake layer, and a whipped butter toping that melts into a goo as it bakes.
- The cake is great to share, so you can take them to parties and meetings knowing everybody will be pleased.
- This cake last especially long, store it in the fridge and take your time to enjoy it later.
Equipment
Stand mixer
13×9-inch baking pan, preferably glass (1)
Pastry bag
Ingredients
Cake
1 teaspoon (3g) active dry yeast
1/2 cup (113g) whole milk
1/3 cup (66g) granulated sugar
3 large egg yolks (50g)
1 large egg (50g)
1 teaspoon (3g) kosher salt
2 1/2 cup (325g) all-purpose flour
Topping
1/4 cup (57g) heavy cream, at room temperature.
2 tablespoons (40g) light corn syrup
1 tablespoon vanilla paste/extract
10 tablespoon (142g) unsalted butter, at room temperature.
1 cup (200g) granulated sugar
1/4 cup packed (50g) light brown sugar
1 teaspoon (3g) kosher salt
1 large egg (50g), at room temperature
1 cup (130g) all-purpose flour
Powdered sugar, for serving, optional
(1) Although I generally don’t like to bake in glass, I call for a glass pan here. It’s convenient for monitoring how quickly the cake is rising and for gauging doneness in the oven, and it encourages browning around the edges, which is a good thing in this case. If you only have metal (my case), that’s fine, just keep in mind that the cake might take a little longer to bake.
(2) Work the topping all the way to the edges so it makes contact with the sides of the pan. These edges will caramelize and become chewy in the oven-this is the best part of the cake!
(3) The surface will be pale in the center even when the cake below is done, so don’t wait until the top is deep golden brown before pulling it from the oven. At that point, the cake beneath will be dried out.

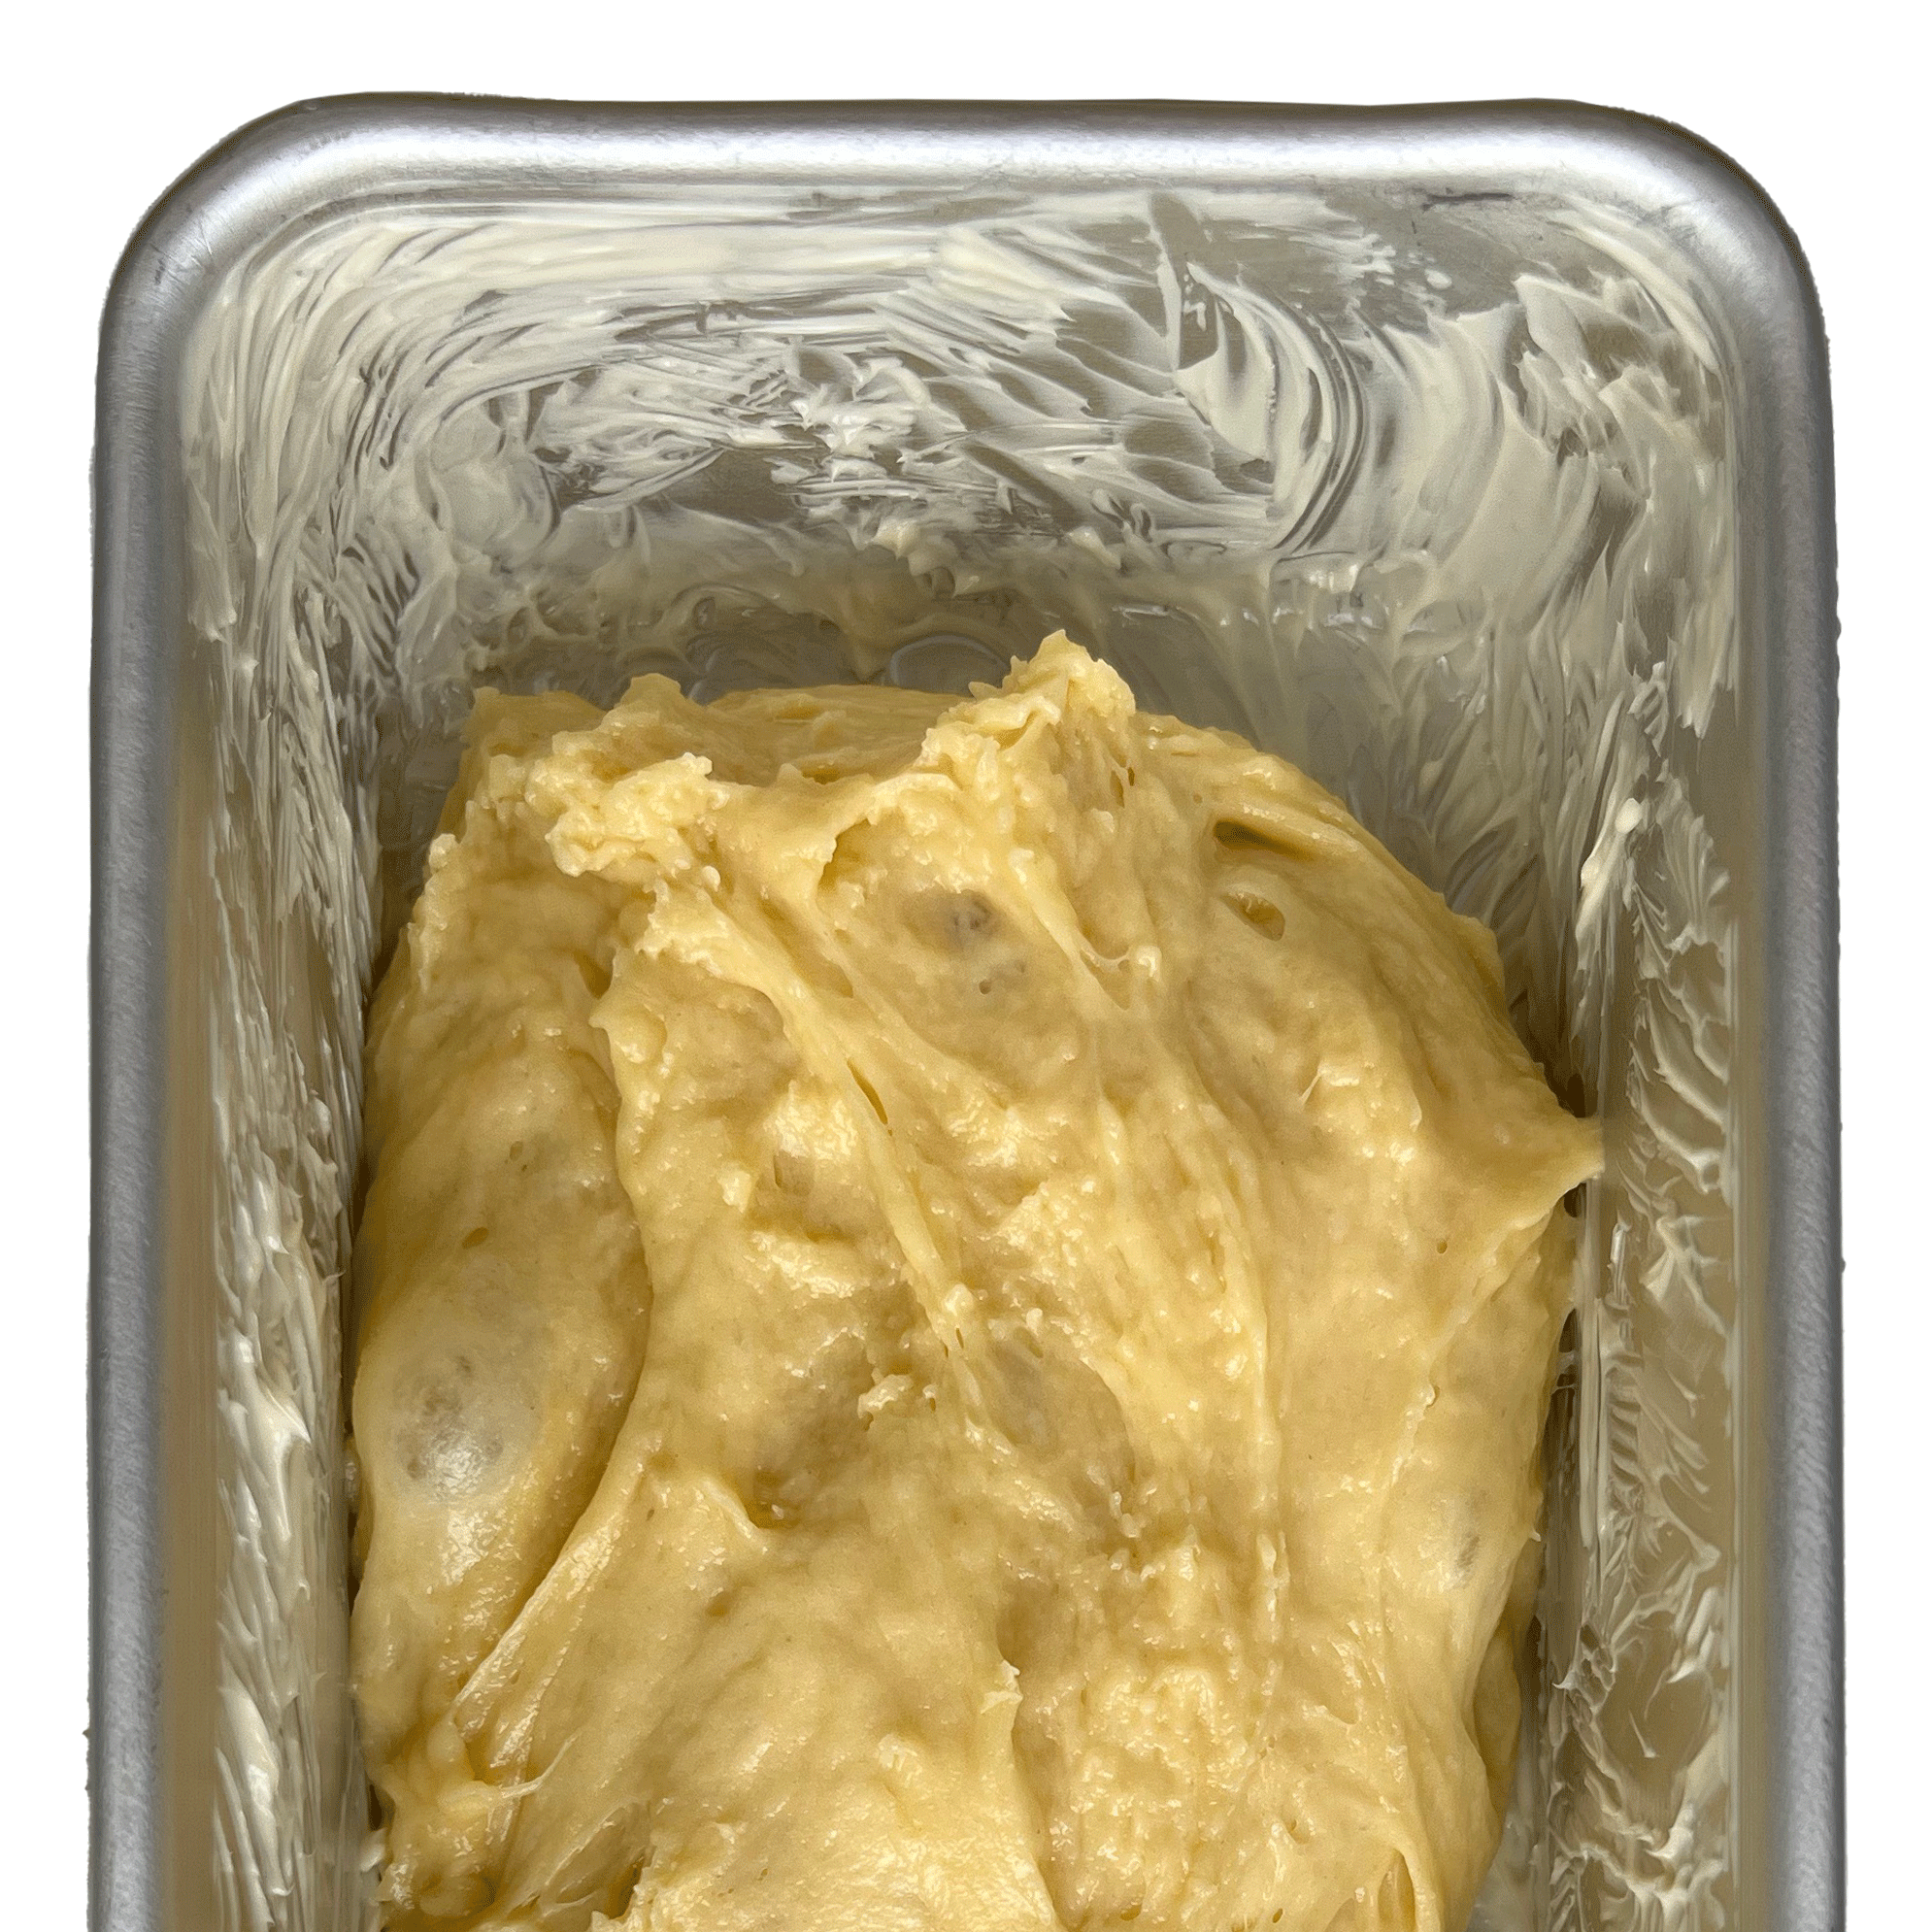
Spread cake batter evenly at the bottom of the buttered pan.

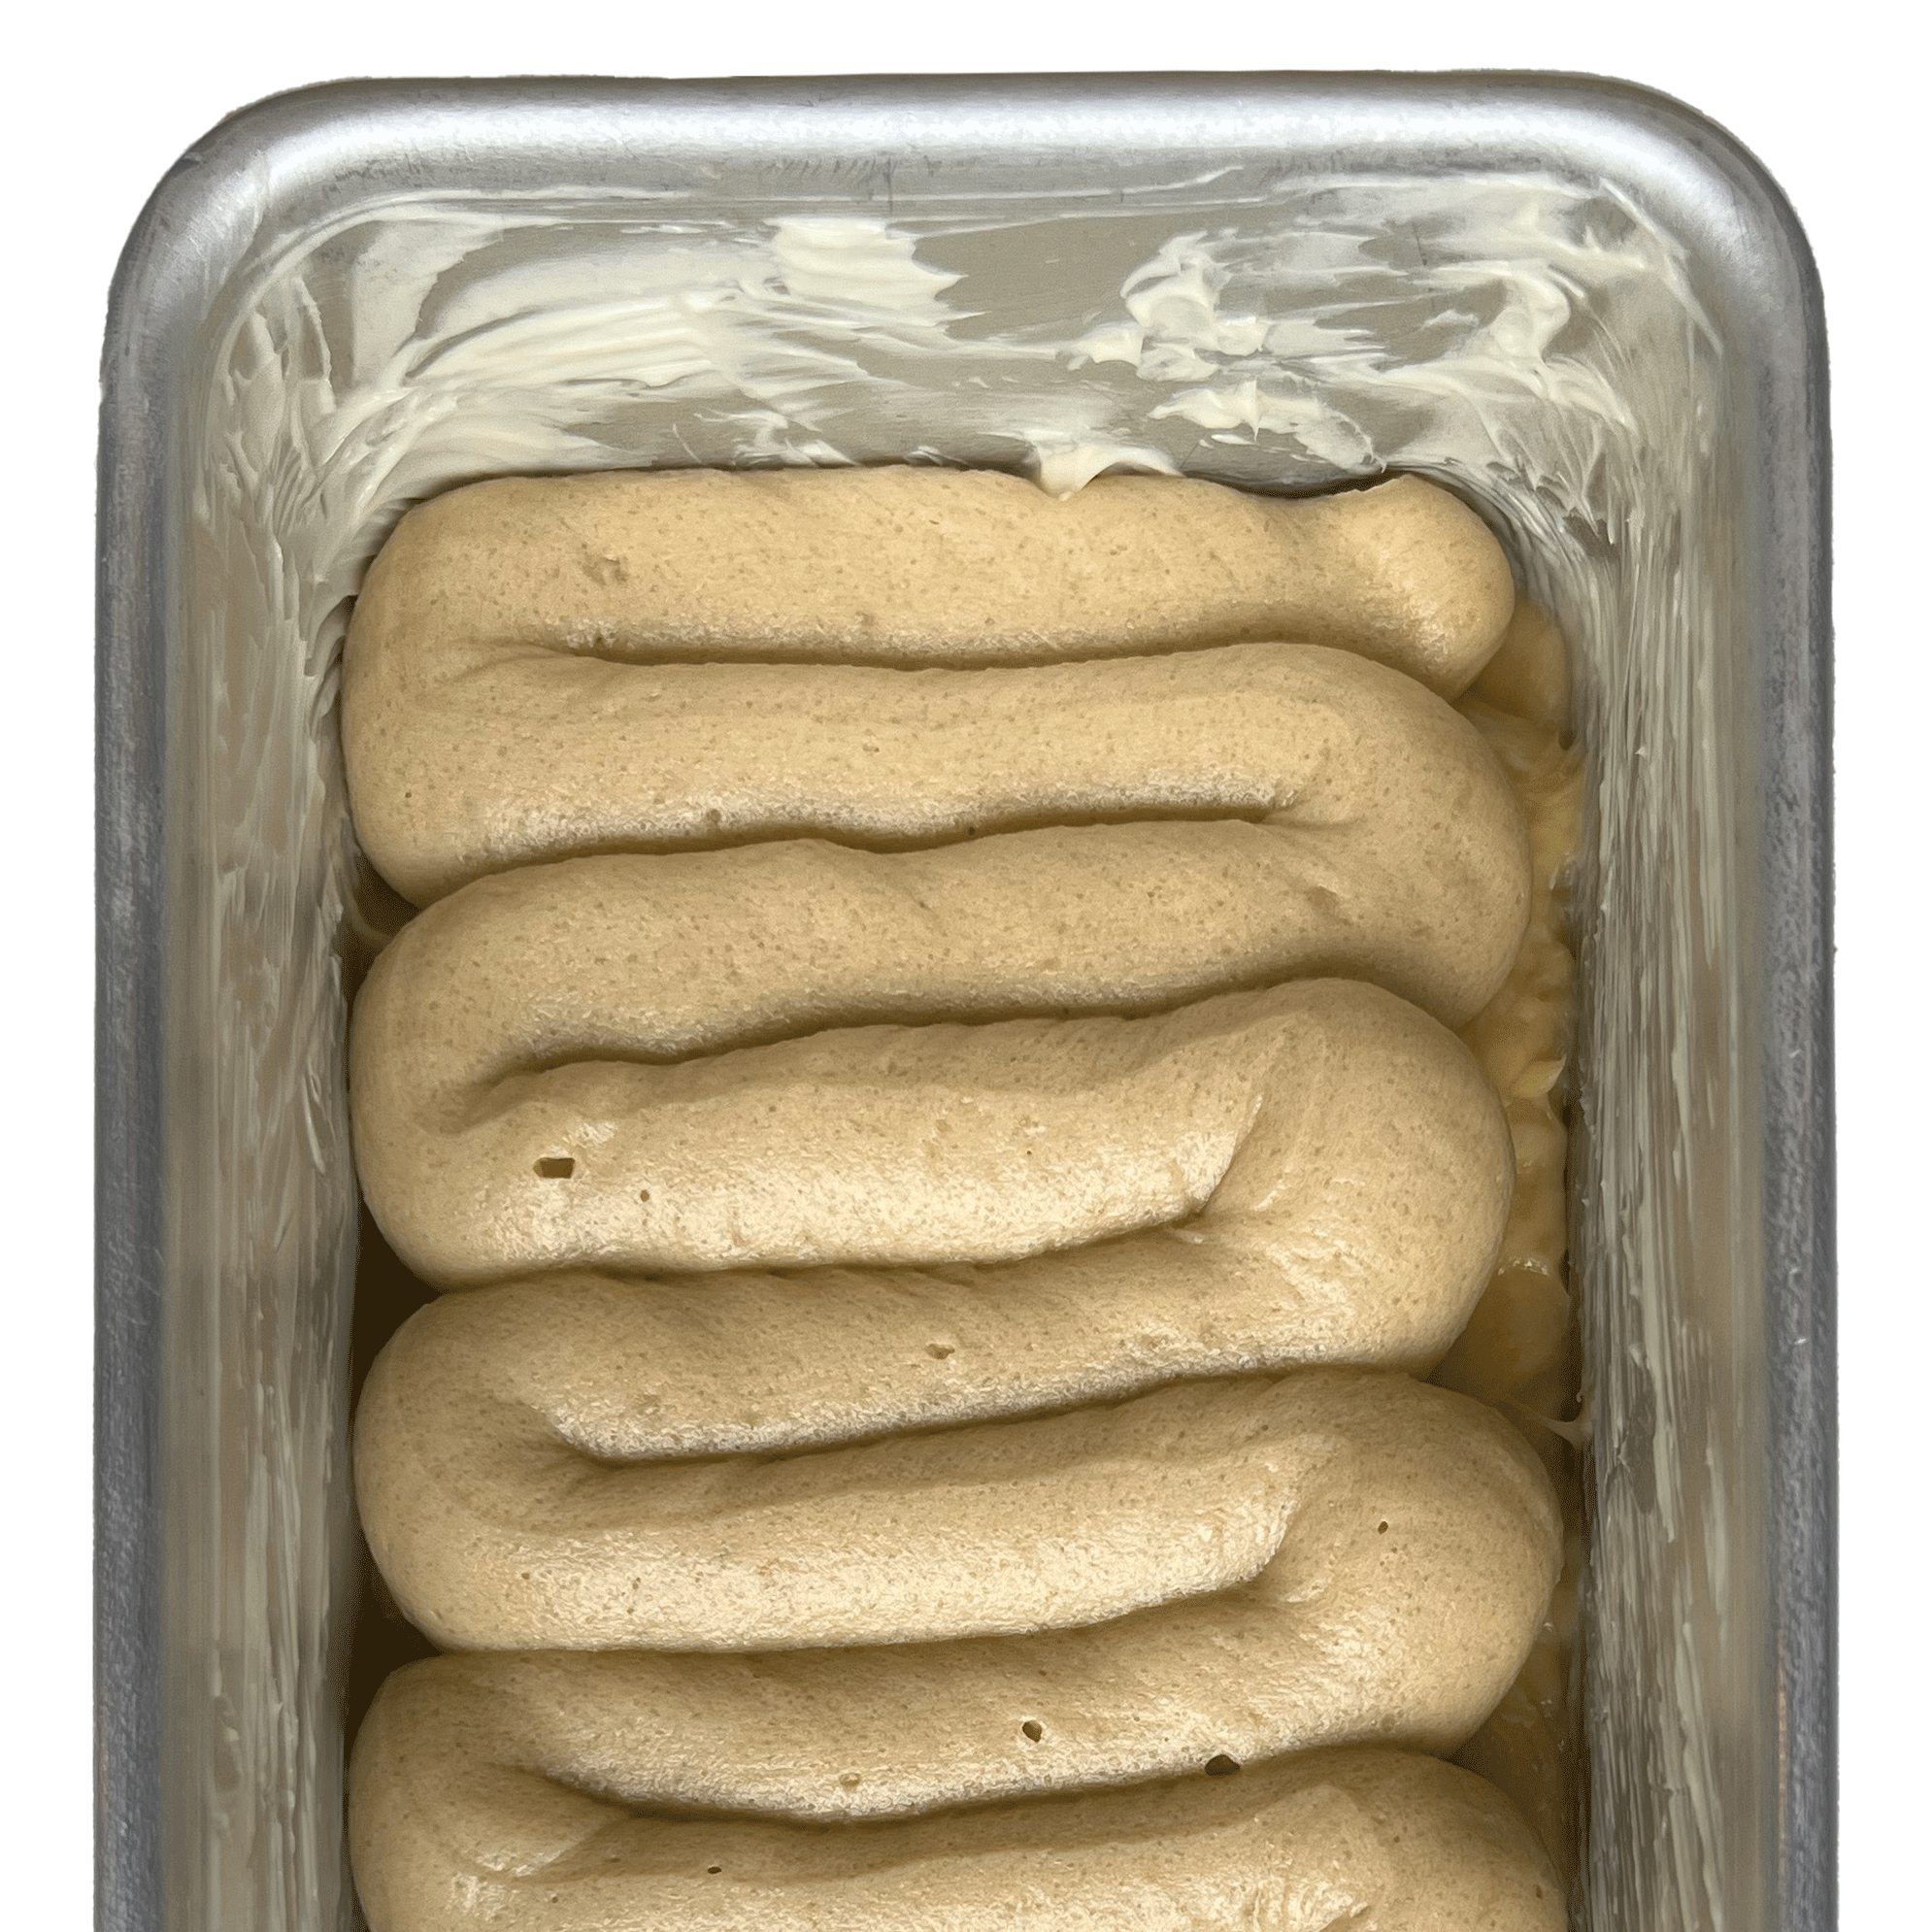
Pipe on topping layer using pastry bag.

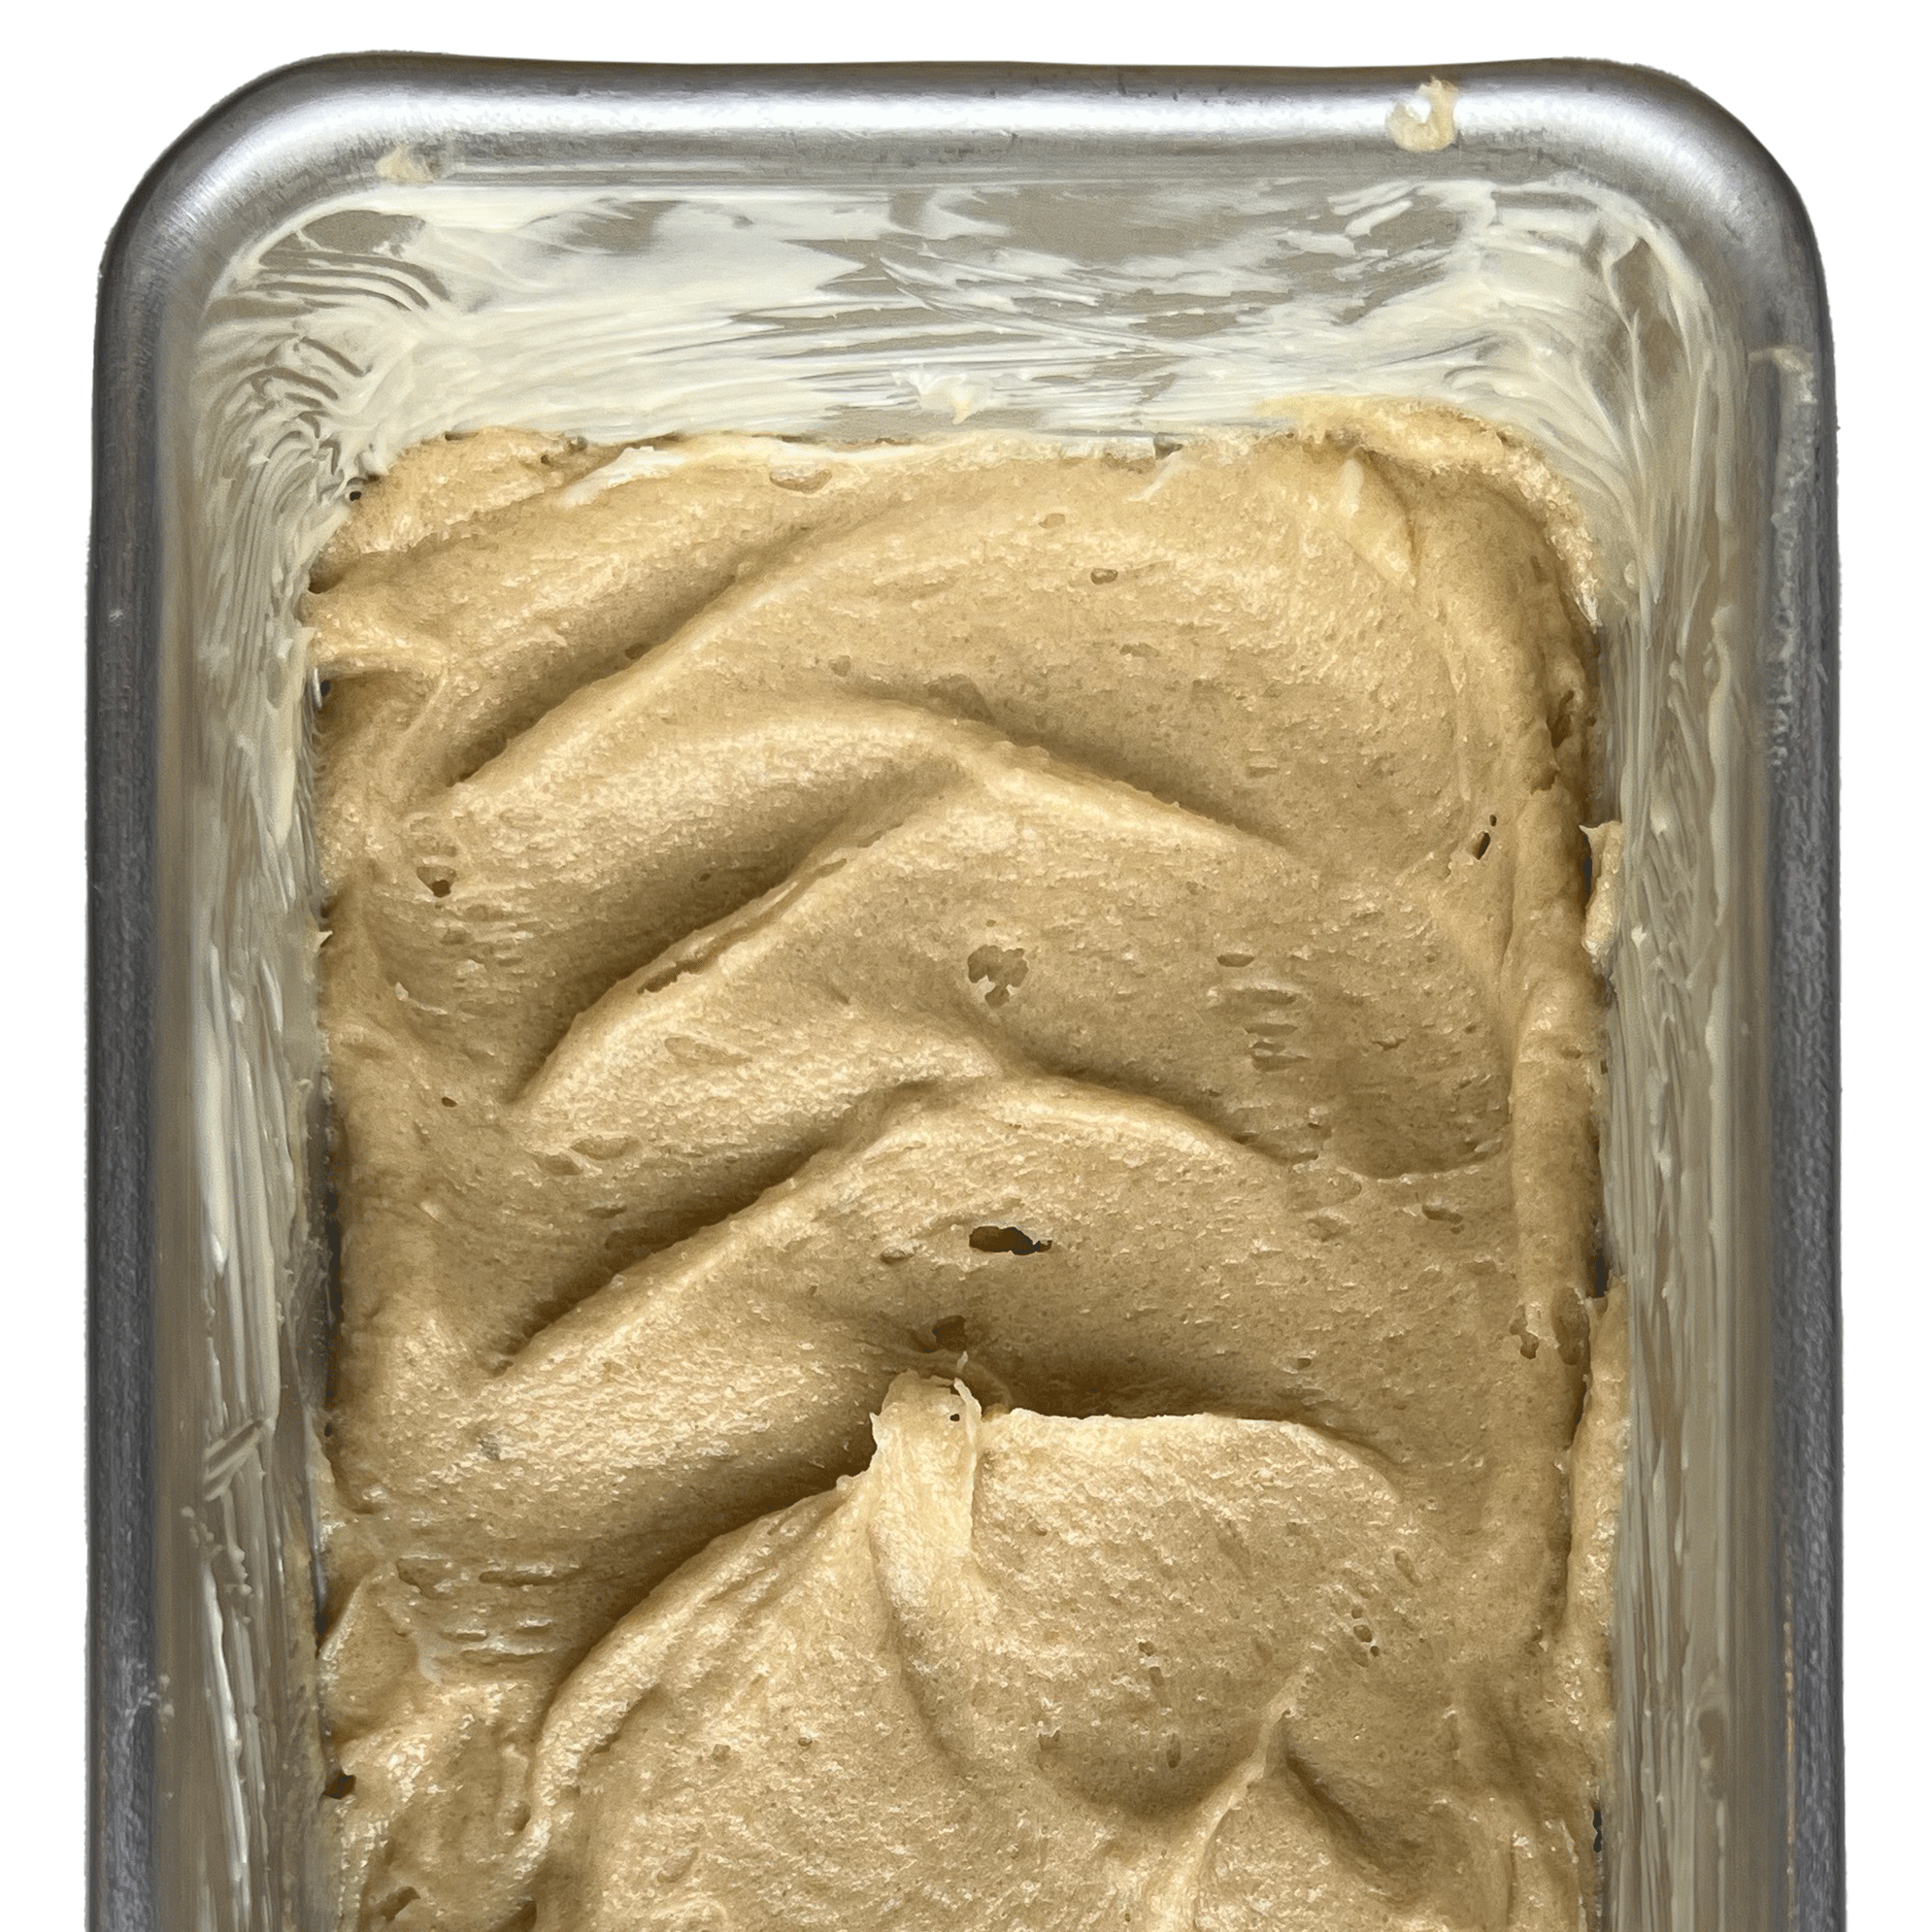
Spread the topping layer evenly, making sure it made contact with the pan sides.

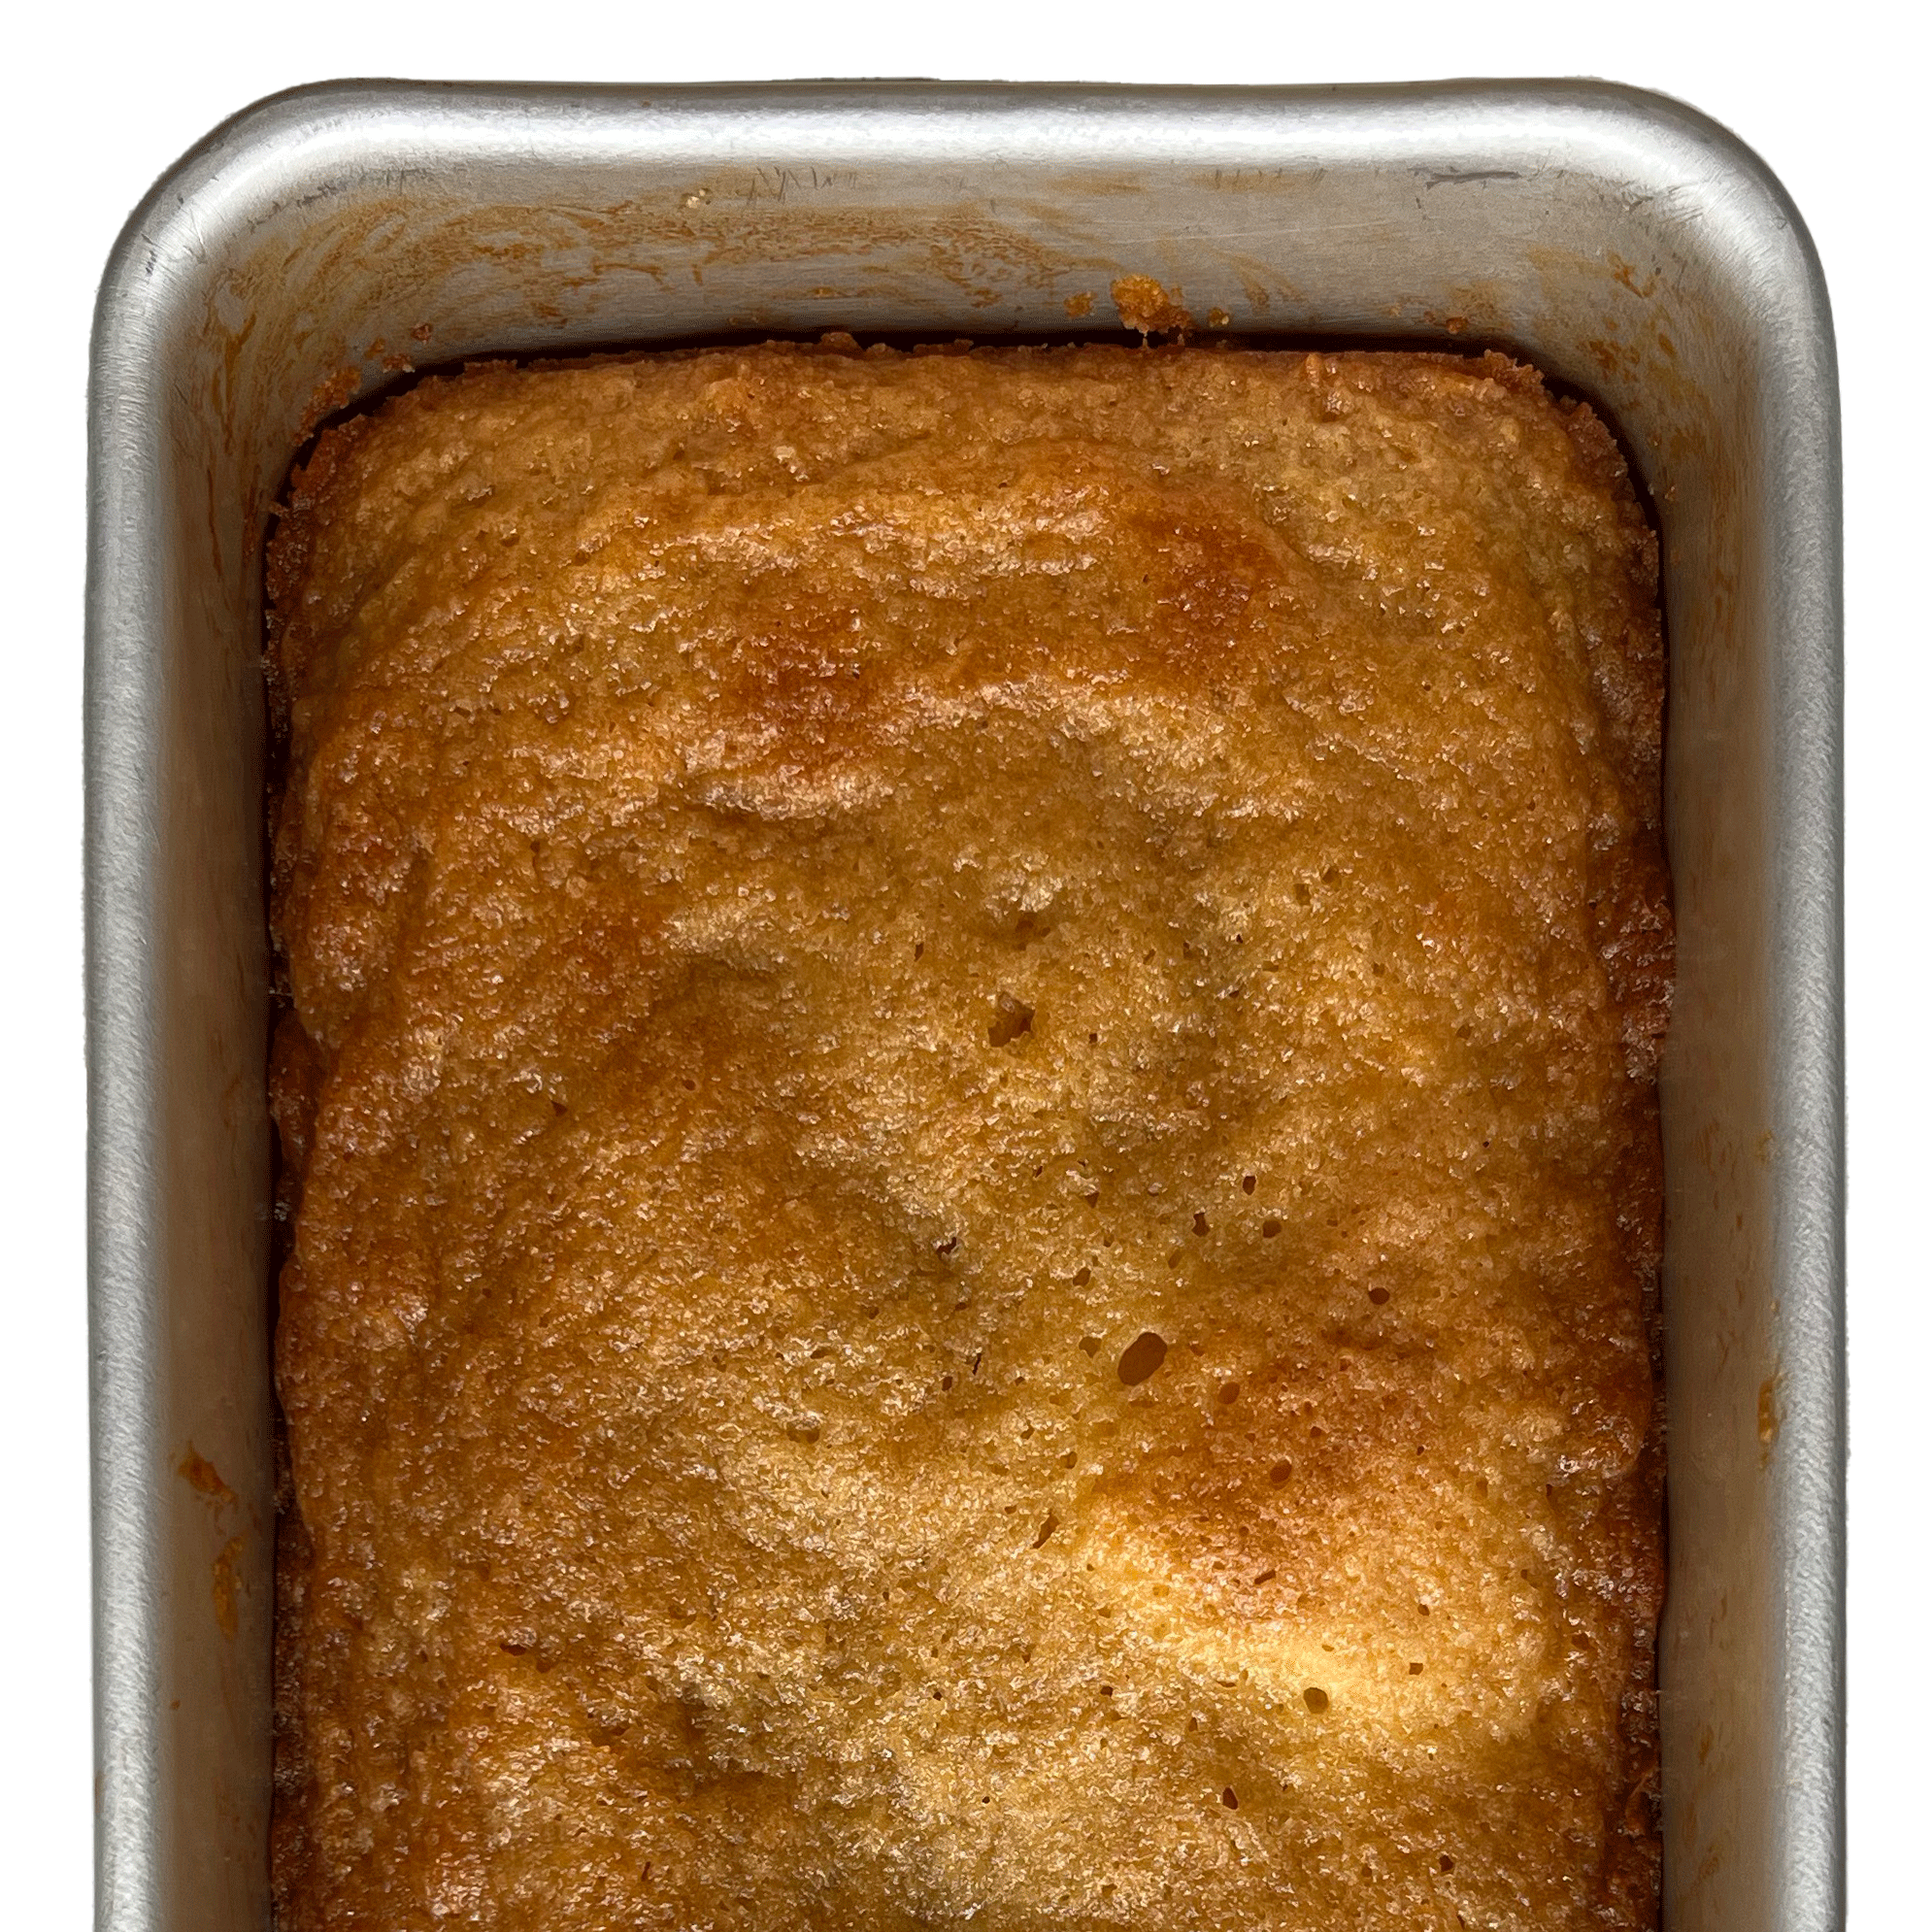
Bake until golden on top, dust with powdered sugar and serve.
This cake recipe is an absolute joy to make, for a few reasons:
- You get to make a light yeasted cake layer, and a whipped butter toping that melts into a goo as it bakes.
- The cake is great to share, so you can take them to parties and meetings knowing everybody will be pleased.
- This cake last especially long, store it in the fridge and take your time to enjoy it later.
Lets get baking!
1. Dissolve the yeast:
In a small saucepan, gently warm ¼ cup water (57g) over low heat, swirling the pan, just until it’s lukewarm but not hot, about 105°F. Pour the water into the bowl of a stand mixer fitted with the paddle attachment and whisk in the yeast to dissolve. Set aside until the mixture is cloudy and slightly puffed. about 5 minutes.
2. Make the yeasted cake batter:
To the bowl with the yeast mixture, add the milk, granulated sugar, egg yolks, whole egg, salt, and 2 cups of the four (260g) and mix on low until the ingredients are combined. Increase the speed to medium and continue to beat, scraping down the sides of the bowl once or twice, until you have a smooth, thick batter, about 1 minute. With the mixer still on medium. add the butter one piece at a time. beating thoroughly after each addition. Switch to the dough hook and, with the mixer on medium, add the remaining ½ cup flour (65g) 1 tablespoon at a time, mixing until you have a smooth, very soft, somewhat sticky dough that just barely pulls away from the sides of the bowl (you may not need to use all the four).
3. Let the cake rise and prepare the pan:
Cover the bowl with plastic wrap and let it rise in a warm place until nearly doubled in size, 1 to 1½ hours. Generously butter the bottom and sides of the pan and set aside
4. Pat the dough into the pan and chill overnight:
Scrape the risen dough into the prepared pan and press it into a single layer, working it all the way into the corners. If the dough sticks to your hands, butter your fingertips and proceed. Tightly cover the pan with a sheet of plastic wrap and refrigerate at least 8 hours and up to 12
5. Preheat the oven:
Arrange an oven rack in the center position and preheat the oven to 350°F
6. Make the topping:
In a small bowl, whisk together the heavy cream, corn syrup, and vanilla until combined and set aside.
In a stand mixer fitted with the paddle attachment, beat the butter, granulated sugar, brown sugar, and salt on medium-high, scraping down the sides once or twice, until the mixture is light and fluffy, about 5 minutes. Add the egg and beat just until combined. Reduce the speed to low and add half of the flour, followed by the cream mixture, then the remaining flour, scraping down the sides of the bowl and mixing after each addition just until combined. When the batter is smooth, transfer it to a large pastry bag or 1-gallon resealable bag. Twist or seal the bag to close, pressing out any air, and snip off a 1½-inch opening.
7. Top the cake:
Remove the pan of dough from the refrigerator and uncover. Pipe a wide snake of topping all across the surface of the dough, using the entire amount. Use the back of a spoon or small offset spatula to spread the topping across the surface in an even laver all the way to the edges. (2) The dough will likely have already risen to 11 times its height while in the refrigerator overnight, but if it hasn’t, cover the pan again and let the cake sit at room temperature until risen.
8. Bake and cool:
Bake the cake until the edges are deep golden brown and firm to the touch but the center is still shiny and jiggles slightly when the pan is shaken, 30 to 40 minutes. (3) Let the cake cool completely in the pan on a wire rack (as it cools, the filling will fall in places, forming gooey valleys in the cake).
9. Serve:
Dust lightly with powdered sugar and cut into squares before serving.
(1) Although I generally don’t like to bake in glass, I call for a glass pan here. It’s convenient for monitoring how quickly the cake is rising and for gauging doneness in the oven, and it encourages browning around the edges, which is a good thing in this case. If you only have metal (my case), that’s fine, just keep in mind that the cake might take a little longer to bake.
(2) Work the topping all the way to the edges so it makes contact with the sides of the pan. These edges will caramelize and become chewy in the oven-this is the best part of the cake!
(3) The surface will be pale in the center even when the cake below is done, so don’t wait until the top is deep golden brown before pulling it from the oven. At that point, the cake beneath will be dried out.

Spread cake batter evenly at the bottom of the buttered pan.

Pipe on topping layer using pastry bag.

Spread the topping layer evenly, making sure it made contact with the pan sides.

Bake until golden on top, dust with powdered sugar and serve.